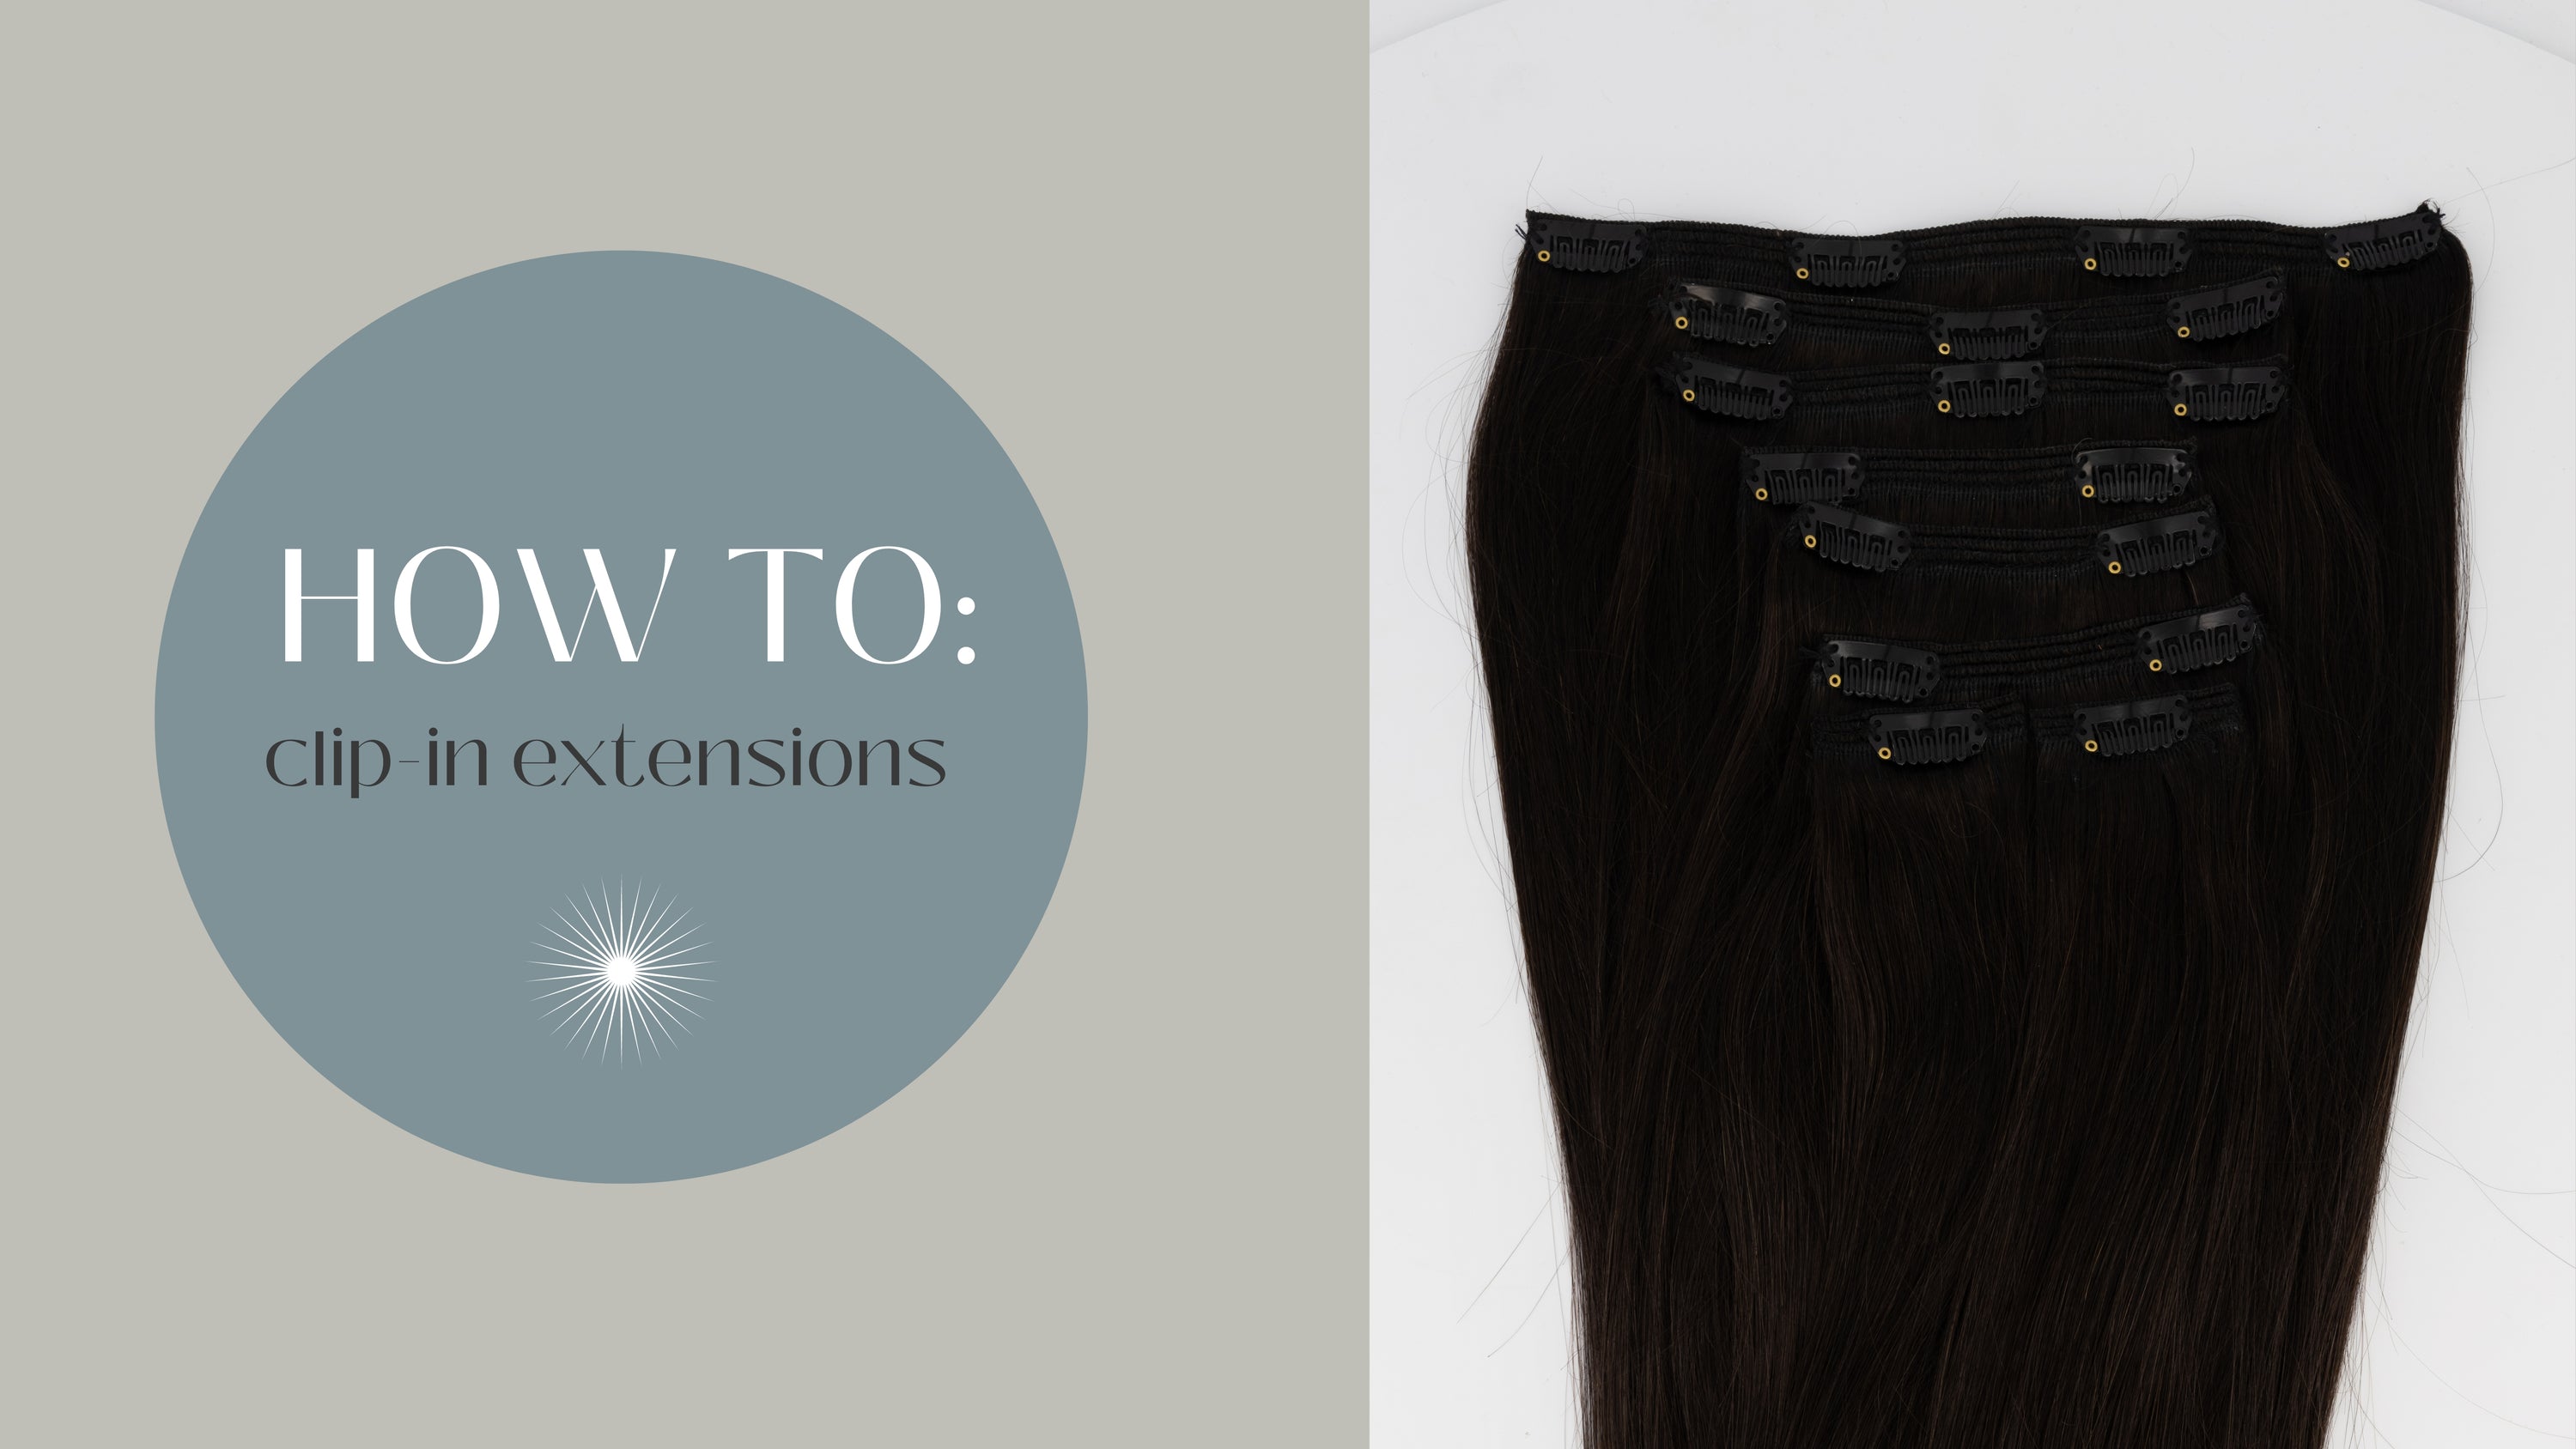
Alternatively, here is a written description tutorial:
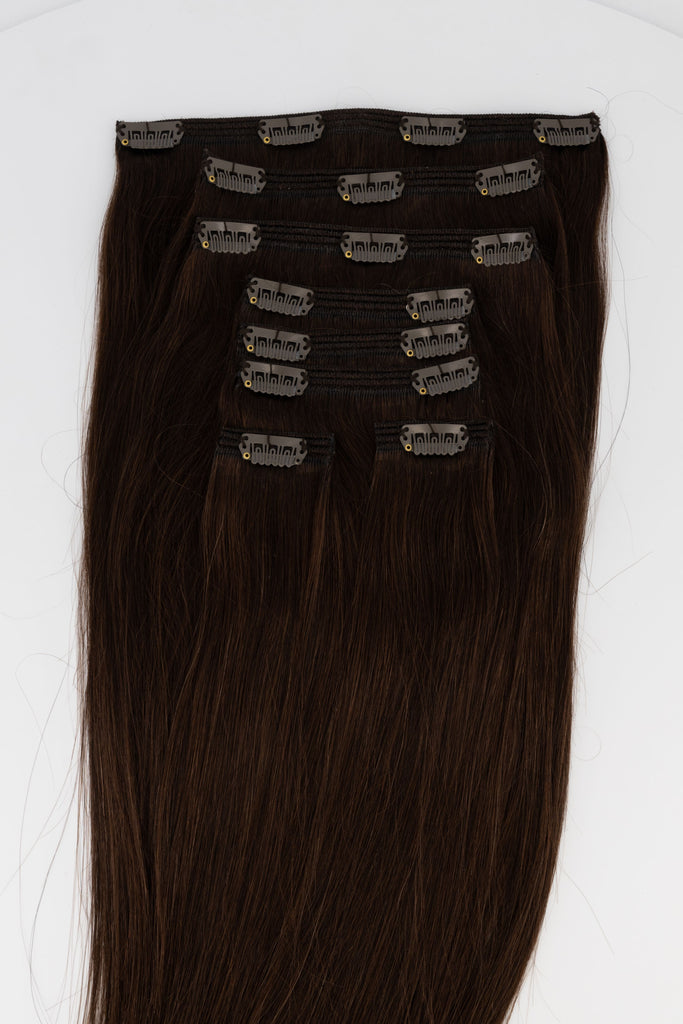
For sets with eight pieces:
Part your hair from above your ear, divide downwards to create a half moon shape. Attach the clips close to the root of your hair for a comfortable fit. Start with your 4 weft (this is the widest piece with 4 clips) and insert them following the path you’ve created.
Create another half moon two finger spaces above your first section. This is where you’ll insert your 3 wefts (the two pieces with 3 clips). Clip each 3 weft on either side of your head, these pieces should meet in the middle.
Divide your hair just above your temples around the crown of your hair. Clip your 2 wefts (the two pieces with 2 clips) on either side and one at the back.
Part your hair just above your 2 wefts, toward your face and insert your 1 wefts (the two pieces with one clip) on either side to frame your face.
Here are some extra tips from the Frontrow team to remember when inserting your clip-in extensions:
- Each path you create should have a clear divide between the hair that’s clipped up and separated down.
- Always path toward the base of your head so you have enough space for all the wefts.
- Attach the clips to the hair that’s separated downward, not clipped up.
- There should be no bubble between your clips once they’re inserted. Should you feel any bubbles, give it another go.
- Your extensions should feel secure and will not slide out until you unclip them. To protect your own hair and the extensions, always unclip them before trying to remove wefts.
You want the clips to feel as comfortable as possible, make sure you have not caught any fine hairs, as these will pull and hurt. If you have very clean, soft hair, you can try teasing the hair at the point you are applying the clip. This helps them to stick even better.
We hope this helps and happy clipping!


