Why do different weights matter for different hair?
Choosing the correct thickness in hair extensions is pivotal to creating a natural-looking blend. For example, if you have quite thick hair and opt for a 120g or 160g set, the extensions may not be thick enough to blend.
If you're unsure which weight is right for your hair, you're welcome to send us an image or two of your hair from behind in natural light with your hair down and we will happily assist you with selecting a product to blend with your hair.
How much hair do I need?
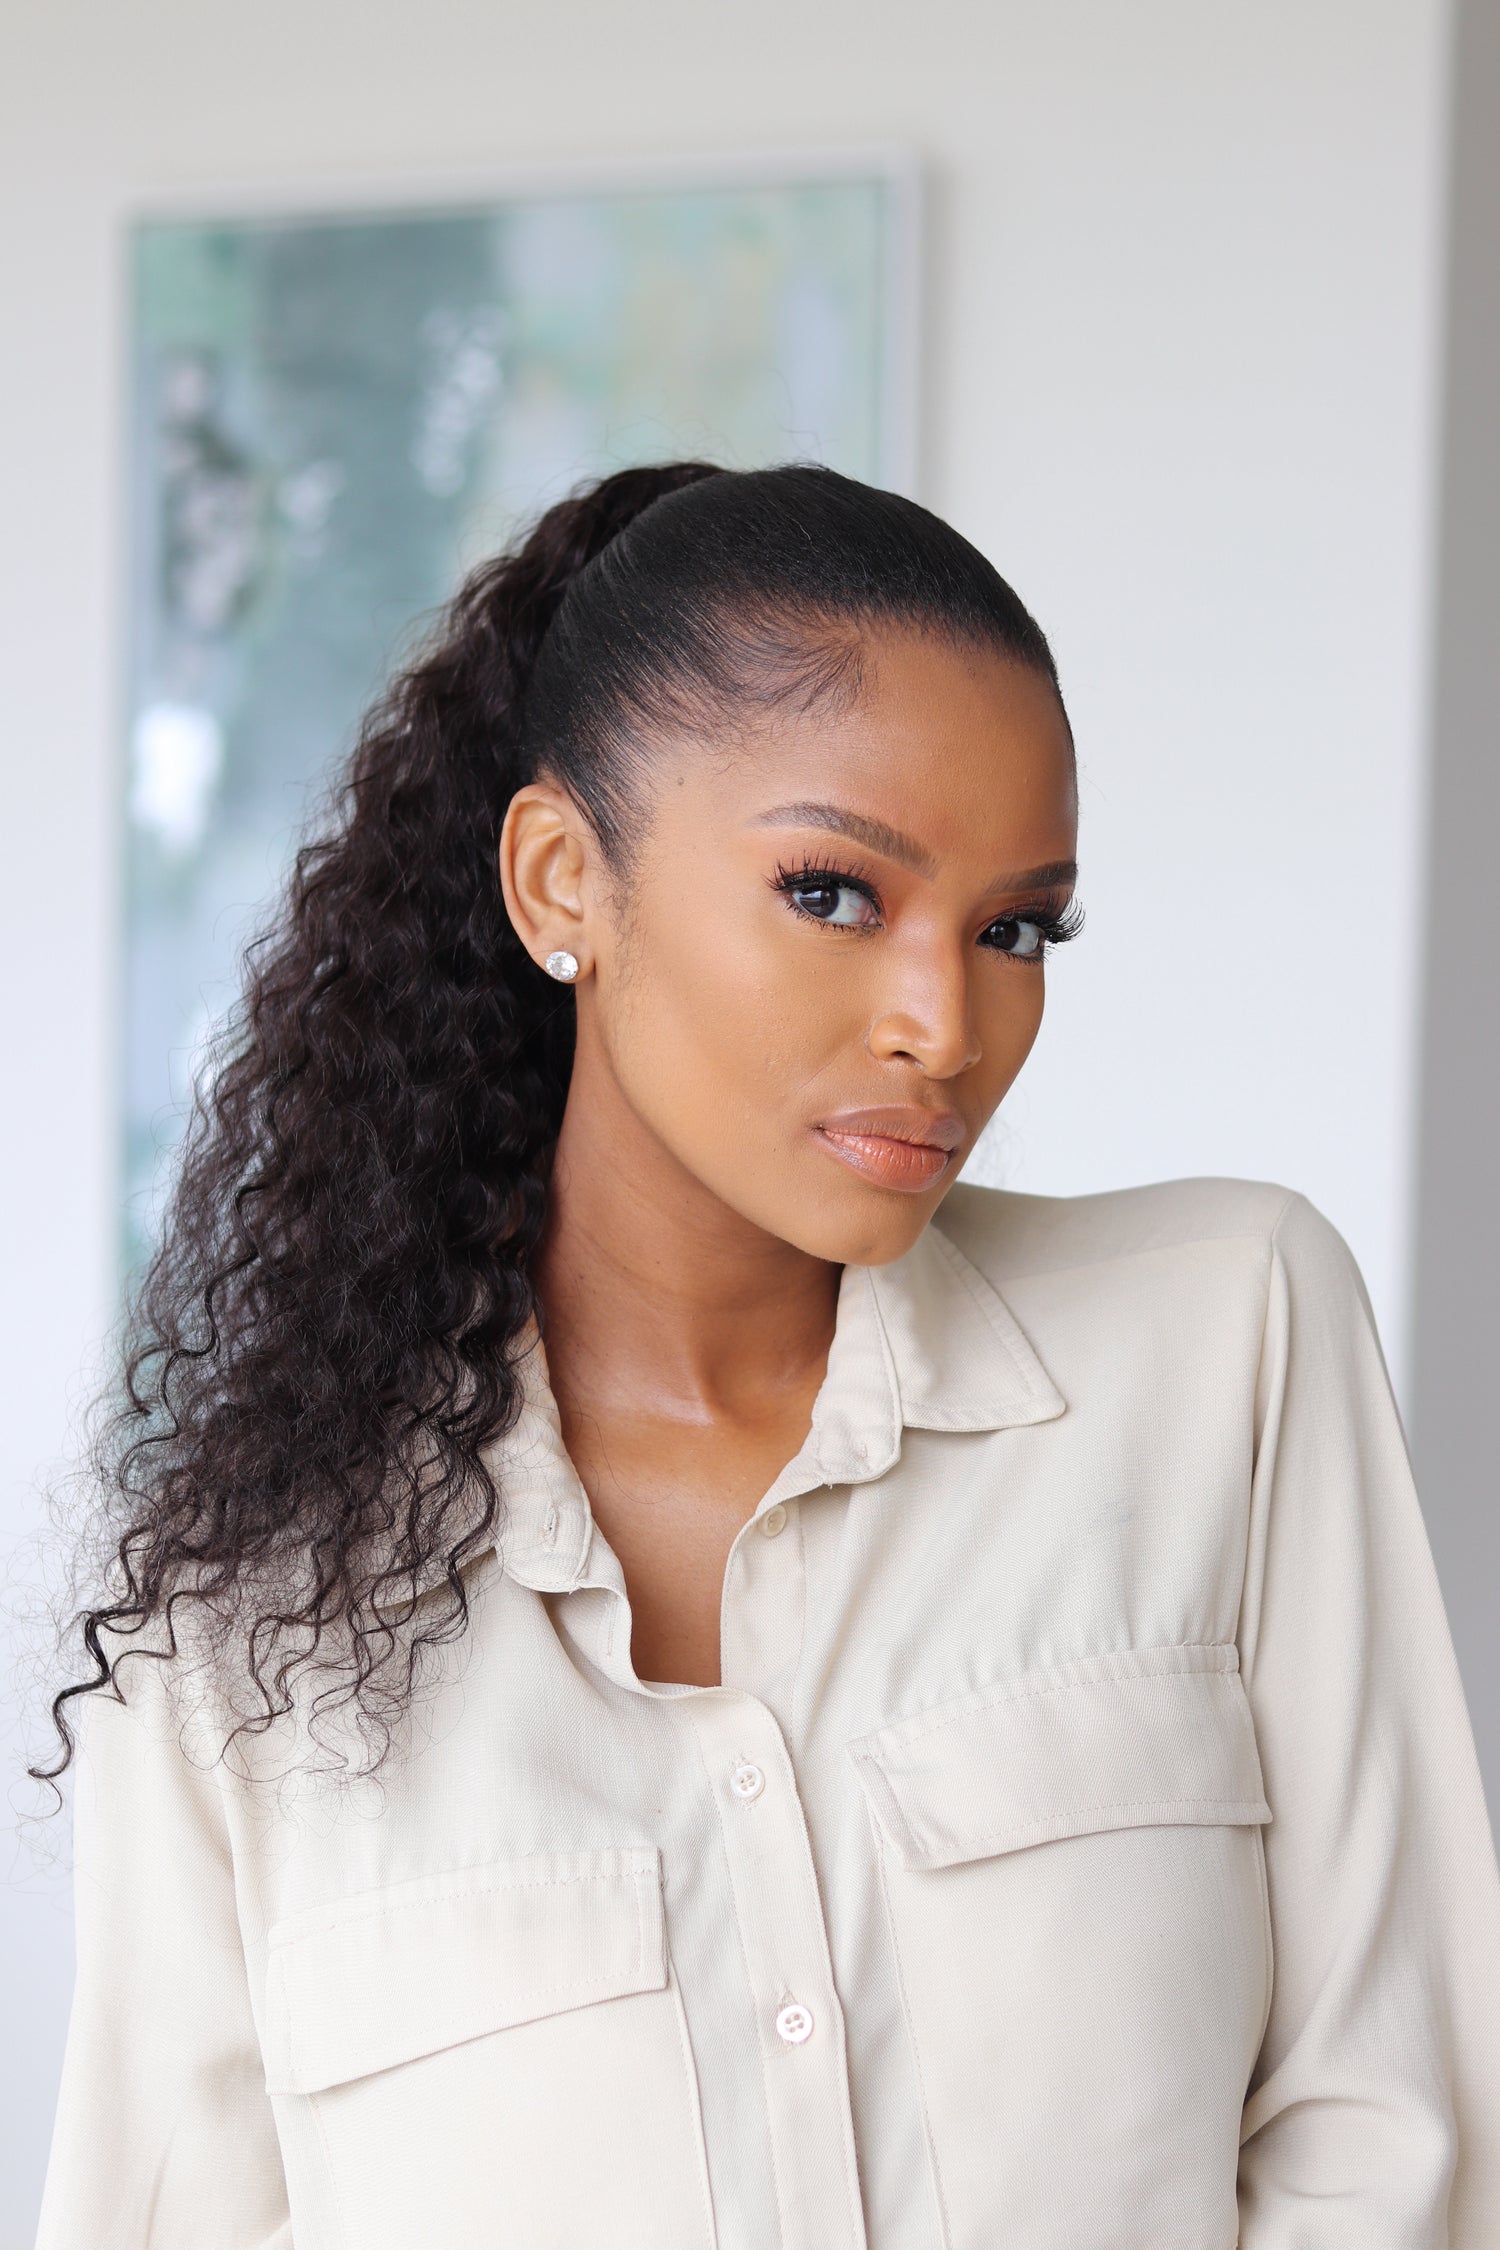
When selecting the perfect set of extensions, there are three thickness options to choose from: 120 grams, 160 grams and 220 grams. These sets are all 50cm (20”) in length, this can reach your elbow depending on how tall you are. Each set comes with around 8 pieces to insert (regardless of the weight selected)
- 120g sets blend best on someone who has fine, layered hair. This thickness will provide you with length and natural looking volume.
- 160g sets are suitable for all hair types but are highly recommended for those with medium thickness hair. It will add length and volume as well as blend in naturally with your hair, giving a flawless natural look.
- 220g sets are our most popular, as these blend with fine, medium or thicker hair. This option provides you with celebrity-like volume, the reason why it blends with any hair thickness is because you’ll have 8 wefts to play around with so you can wear more or less pieces depending on your hair. This is the best option for shorter or blunt cut hair.
How do I attach my extensions?
Otherwise, open the clips on each of your wefts and follow the below instructions.
Part your hair from above your ear, divide downwards to create a half moon shape. Attach the clips close to the root of your hair for a comfortable fit. Start with your 4 weft (this is the widest piece with 4 clips) and insert them following the path you’ve created.
Create another half moon two finger spaces above your first section. This is where you’ll insert your 3 wefts (the two pieces with 3 clips). Attach each 3 weft on either side of your head, these pieces should meet in the middle.
Create a half moon around the crown of your head (not too high up). Attach your two wefts (the two pieces with 2 clips) on either side of your head. In the space between the two wefts at the back of your head, insert your 4 single wefts (the 4 pieces with one clip) next to one another.
How long do they last?
The lifespan of your extensions is between 3 months to a year, depending on usage and how well you look after them. Daily wear, the use of heated styling tools and frequent washing and combing all contribute to the wear and tear of your extensions.
To help extend longevity of your extensions, we advise that you remove the extensions when you sleep, shower, and swim. Always use a salon-grade heat protectant spray and a lower heat setting when styling; and only wash your extensions every 15 - 20 wears with sulphate-free shampoo and conditioner.
How often do I wash them?
Your extensions should be washed every 15 - 20 wears, or when the hair has a build up of products and has become unmanageable to style. Only wash with sulphate-free products.
Tip: Airing out your extensions is often all you need to keep them clean. You can use a little Argan hair oil, or Shine Spray to keep them smelling fresh and feeling soft.
Can I apply heat to my extensions?
Absolutely! Simply apply a salon-grade heat protectant spray before styling and lower the temperature on your styling tool to protect the hair. We recommend anything lower than 200 degrees celsius.
Are they comfortable to wear?
Our extensions are designed to be non-intrusive. The small clips will be firmly attached without pulling on your hair or causing irritation to your scalp.
Your extensions should be taken out before you go to bed, to ensure that they don’t get tangled. No damage is caused to your own hair when wearing our clip-in extensions.
How do I choose the right colour?
Tap the live chat bubble in the bottom right of the screen for help selecting your colour.
Send us a photo of your hair from behind, in natural light (not direct sun) and our team will assist with a colour match.
What if I choose the wrong colour?
If you choose the wrong colour you may return your extensions for an exchange within 7 days, as long as the quality seal (the gold ties) is unbroken and they have NOT been worn.
NB! Due to quality and hygiene reasons, we cannot take back any hair that has been opened, so be 100% sure before opening the seal (the gold ties). This is standard practice for all hair extension companies.
Can I colour the hair?
It’s preferable that you choose the correct colour extensions from the beginning, as they have already undergone a chemical process to get them to that specific colour. However, they can be coloured a darker shade, but not lighter, and bleaching them is not recommended. Be aware that colouring your extensions will shorten their lifespan considerably. They will become dry and brittle very quickly and might break off. We cannot take responsibility for hairstylists colouring the extensions, as we don't have control over the process, exposure length and products used to dye. We therefore don't, under any circumstances, offer exchanges / refunds if extensions have been dyed.
If you do opt to colour your extensions, we recommend getting them coloured by a professional who has had previous experience working with hair extensions.
We recommend testing the product on a smaller weft and to proceed weft by weft thereafter so the formula can be altered if need be. We also recommend using a semi permanent color, as it is far more gentle on the hair extensions. We do not recommend lightening your extensions, as it will require them to be bleached. Bleaching is a very harsh and harmful chemical process, which will alter the quality of your hair extensions and could potentially severely damage them.
Please note we offer the same advice for using purple or silver shampoo.
How long does delivery take?
Please note: Preorder items have a specific wait time depending on the product, please reach out via email to ask us when the new stock is expected.
For products that are in stock: When placing your order, you will have an option between free and express delivery. Free delivery takes between 2 to 5 working days* and express delivery, for R100, takes 1-2 working days*.
*These estimates may vary for outlying areas.
Our packages are dispatched from Monday to Friday. Once your payment has reflected in our account, you will receive a notification that your payment has been received. If it reflects before 2PM, we will prepare your parcel for dispatch that day. Tip: If you have an urgent order, please contact us on 0214617750 for assistance and to confirm stock availability.
Can't find what you're looking for?
If you have a question that has not been answered above, please send us an email so that someone from our Customer Service team can help you. Be sure to include your order number (if you have one).
Please email us at info@frontrow.co.za


